Snag
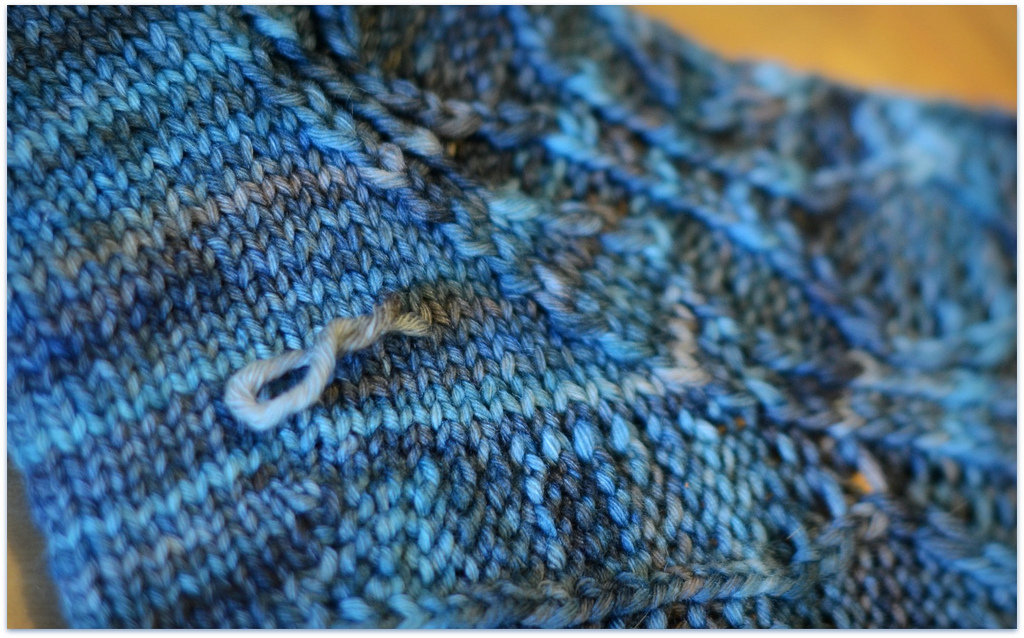
So we all do it. Or at least I hope we all do it. This morning I realized that I’d worked part of one row of the sock much much looser than the others. Now for some things this might not matter or might come out in the wash. But this is a sock, and I didn’t want to leave a place that could wear our or irritate the foot. But of course it was many many rounds back, and I didn’t want to rip. So if you ever find yourself in this unenviable potion (you of course won’t because you’re much more clever than I…but someone you know might), here’s how to fix it.
First, free up at least two inches of yarn. Do this by following the line of stitches, tightening as you go, one leg of the stitch at a time. You may have to tighten up quite a few stitches to get enough slack. I did almost all of the stitches on the sole to get this much. You’ll only get a tiny fraction of an inch from each stitch, but eventually you’ll have enough. Don’t over tighten, just snug it up enough to match the rest of the piece. When in doubt, get more yarn.
Snip the loop in half. You need to weave in the ends, one at a time, each tracing out the path of the other half of the yarn. It’s rather like duplicate stitch. The final effect will be what you would have gotten if you’d held two strands of yarn together and knit several stitches with both strands (as though you were joining on a new piece of yarn). But you won’t have enough yarn to work like you normally would.
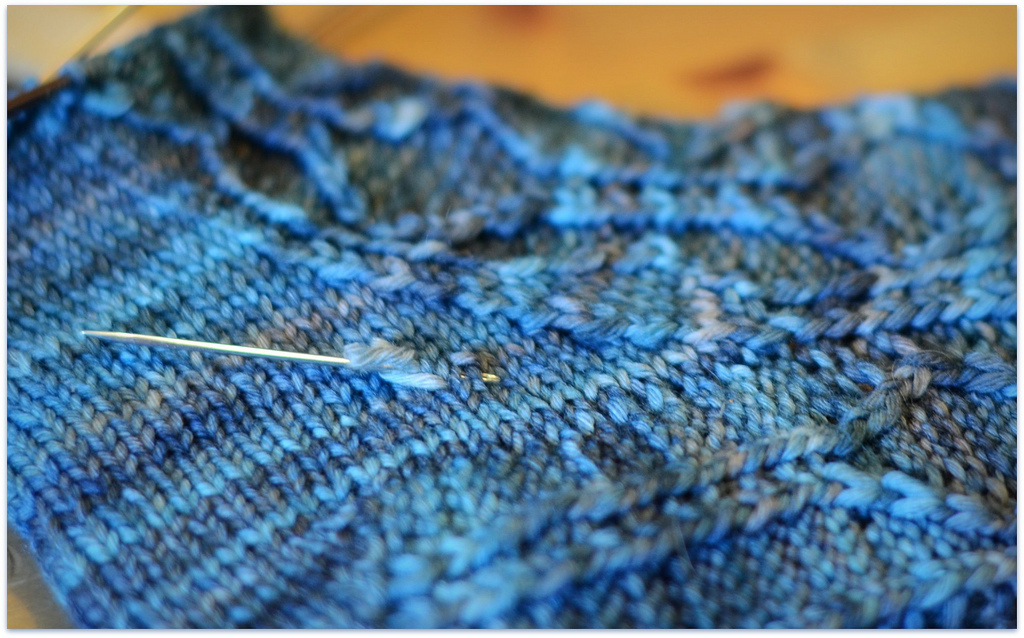
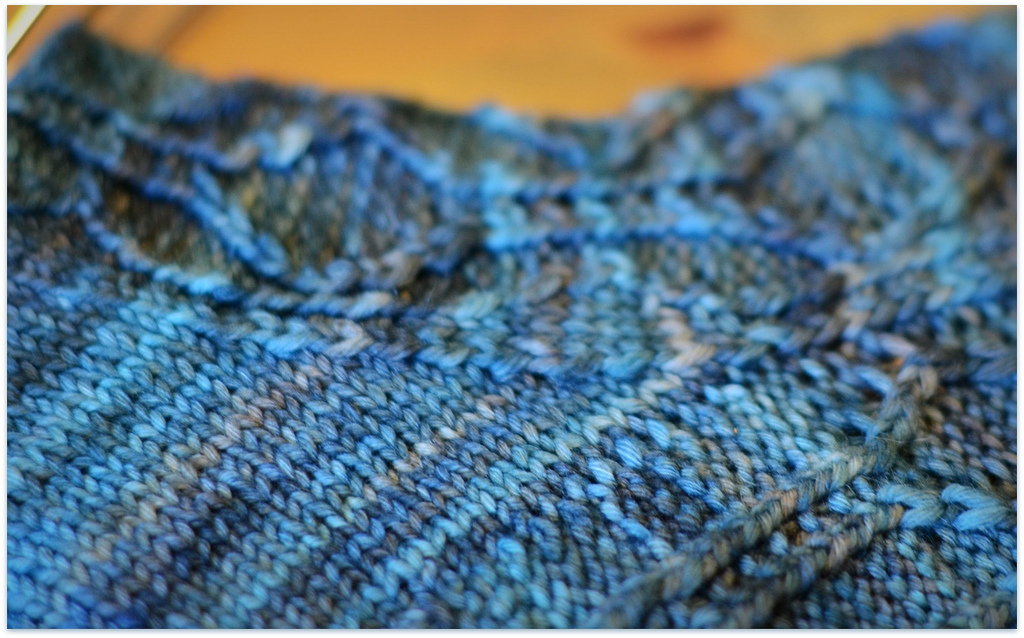
There are two ways to handle this. The first approach is to thread your needle and then sew backwards. That is, push the eye of the needle into the fabric first rather than the pointy end (sort of like how a sewing machine does it). This lets you trace out the path for your yarn to take, even though the total length of yarn is shorter than the needle. This pictures shows the yarn/needle working from left to right.
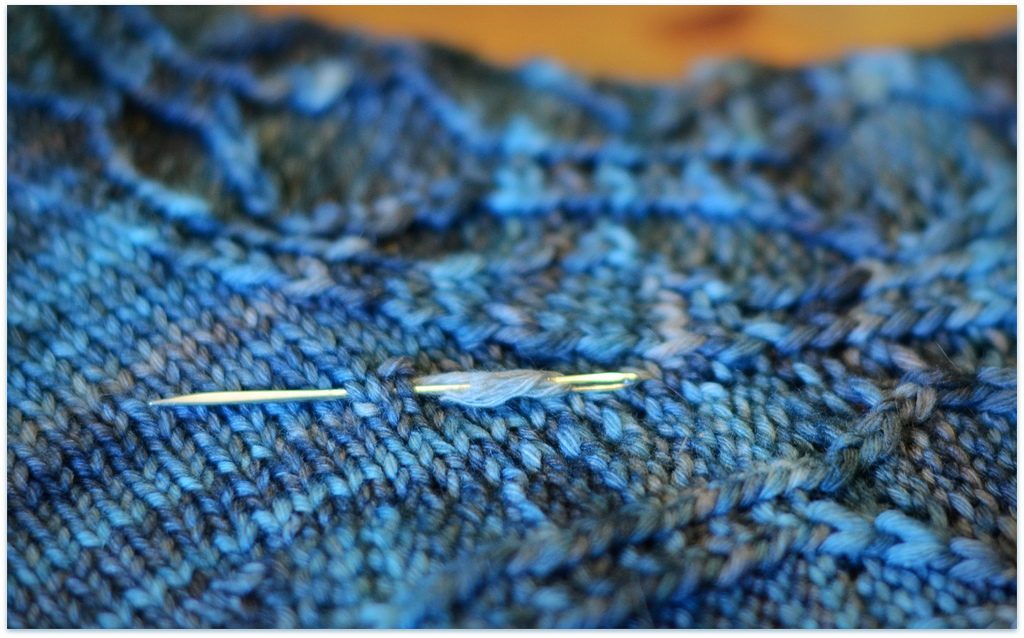
The other option is to take your needle, unthreaded, and trace it through the path you want your yarn to take, pull it almost all the way through, thread it, and then tug the yarn through at the end. This picture shows the yarn/needle working from right to left.
End by tugging the ends through to the wrong side and giving the fabric a bit of stretch and tug. The final result is nearly invisible.
Mailing List
Want to hear when a new pattern comes out or something fun is going on? Sign up below!
Patreon
Want to support the content I create, get nifty bonus material for some of my favorite patterns, or get every new release delivered right to your inbox? Head over to patreon and sign up!
