Repeat
The set I’ve been working on offers a good opportunity for a little instructional aside. You know how variegated yarn sometimes acts very differently from one project to the next? I’ve got a lovely little demonstration of why.
You may recall I’m worried about running short of yarn on this project. So because I’m going to be using every inch of the yarn I have, I’m trying to be reasonably clever. Once the cowl got to be just long enough, I put it aside on an extra needle and moved on to the hat. The plan was to make the hat, make the mitts, then come back to the cowl and add as much length as I can with whatever yarn I have left.
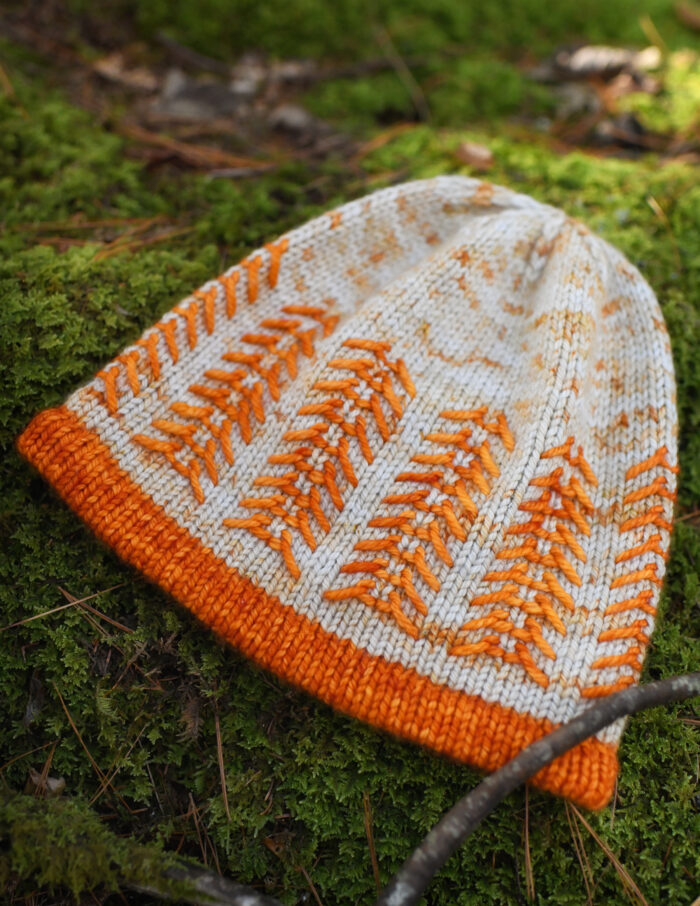
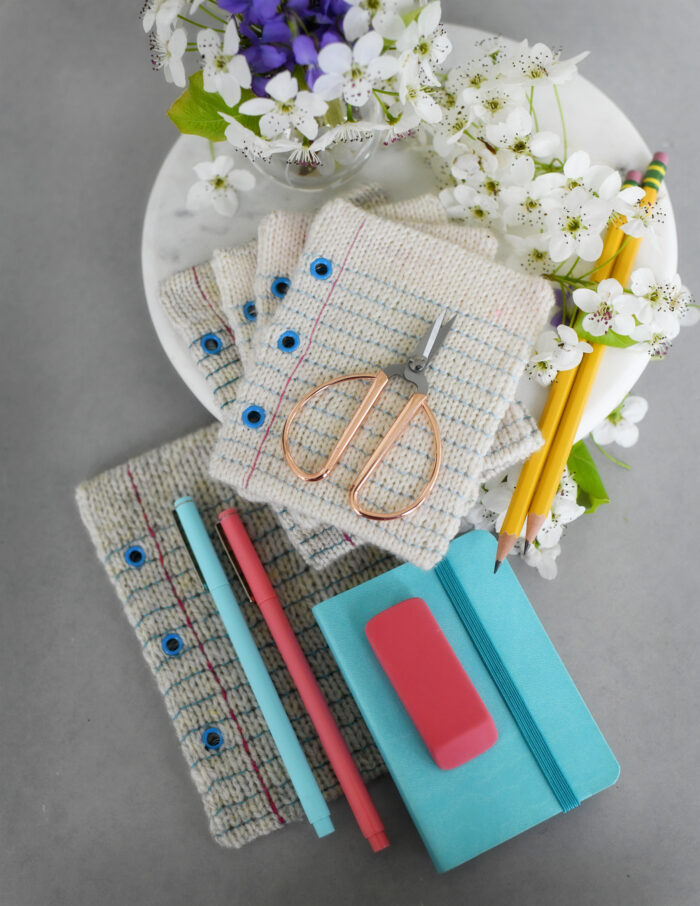
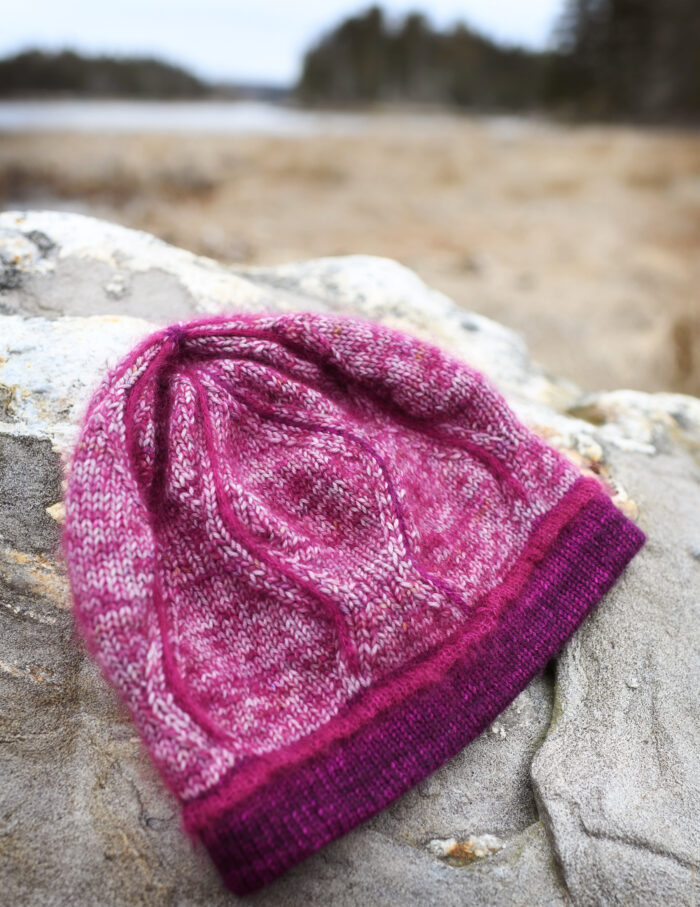
You’ve seen the finished hat, and you saw how I made a band of the textured stitch, wrapped it around my head, picked up stitches, and started working up to make the top of the hat. The band of textured stitches is narrower on the hat than on the cowl, and as I started knitting it, I noticed something interesting. Let’s take a look (it’s snowy outside, hence the background being all blown out, this is an instructional shot not a glamor shot, so please bear with me).
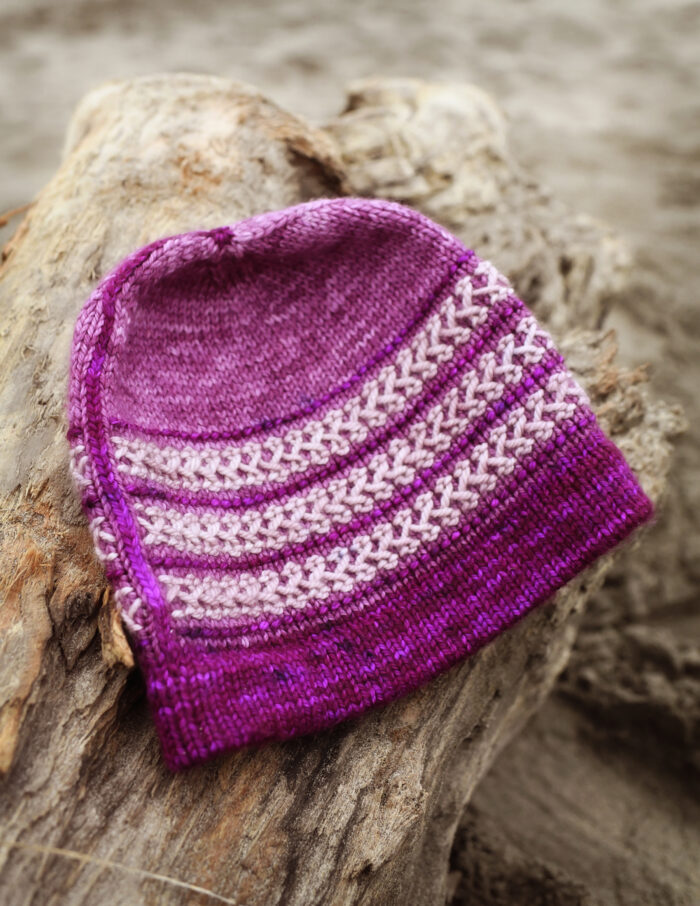
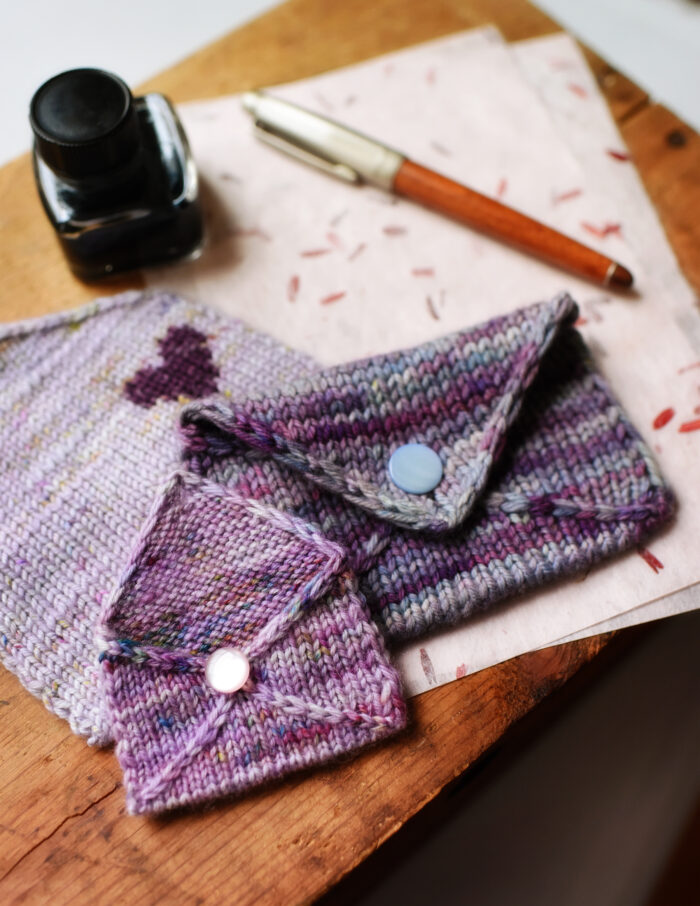
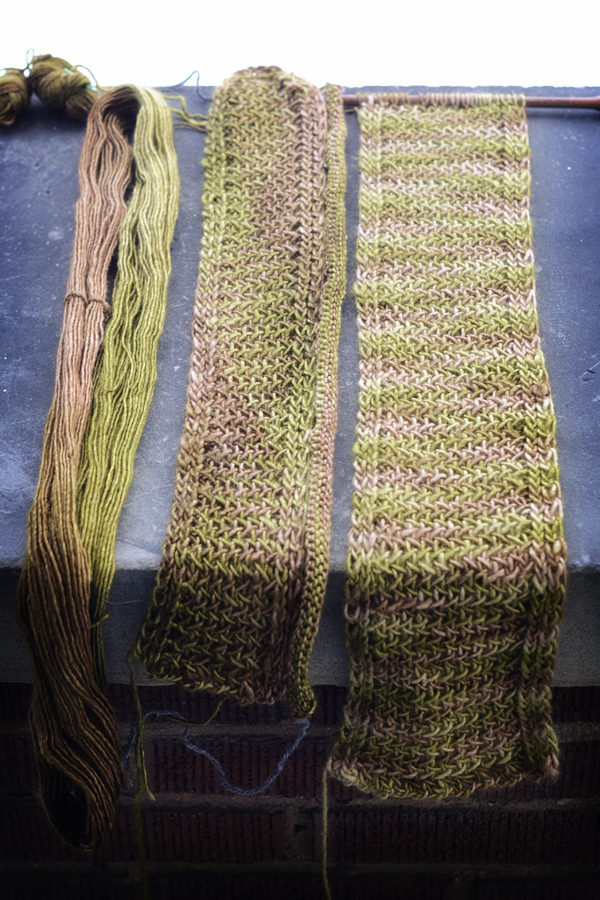 So over on the right, we’ve got the cowl. Look how the colors stack up in a lovely progression of orderly stripes that reach half way across the fabric. The colors cycle in order right up the length of the piece. Now, in the middle, we’ve got the band for the hat. (Plus a few rows of stockinette being all super curly there on the right side of the hat band. They are the start of that ‘pick up stitches along one side bit,’ and are knit with another strand of yarn. Just ignore them here.) Look at how the colors stack up on this one. Instead of making stripes, they make big solid masses of color that cycle very slowly along the length of the piece. And over on the far left is the skein of yarn, just so you can see how the colors cycle on it.
So what’s going on? It all has to do with the relationship between how much yarn it takes to do a row of knitting and how much yarn it takes to get through the colors on the loop of yarn. Let’s start with the yarn. Look at the top of the loop, right where it changes color from peach to light green. If you follow around the loop you’ll see light green, dark green, brown, peach, and then back to light green.
On the hat band, a pair of rows (one right-side and one wrong-side) used about an inch less yarn than it takes to go through the yarn’s color progression. So every time I worked a pair of rows, the color changes crept a bit (just about one stitch) farther across the piece. On the cowl, a pair of rows (again, one right-side and one wrong-side) used about one and a half times as much yarn as it takes to get through the yarn’s color progression. That led to the tidy stripes you see there.
Both effects are lovely, but if you don’t understand why they’re happening, it can be a bit perplexing. But once you do understand it, you can use it to your advantage. If I wanted to change how one of the pieces was cycling, I could either add or subtract stitches. That would change the relationship between how much yarn it takes to do a pair of rows and how much yarn it takes to get through all the colors. Just something as simple as adding an extra edging stitch on each side would make a big difference. The cowl is 8 stitches wider than the hatband, and you see how much of a difference that makes.
For me, that sort of obsessive fiddling leads to insanity, but I do feel better knowing I could do it if I really really wanted to.
Mailing List
Want to hear when a new pattern comes out or something fun is going on? Sign up below!
Patreon
Want to support the content I create, get nifty bonus material for some of my favorite patterns, or get every new release delivered right to your inbox? Head over to patreon and sign up!