Summer School, Heels and Toes
Remember how last week I told you you were the boss of your socks, and that if you wanted thick and cozy socks you could have them? Yeah, well you being the boss of your knitting thing is a theme. You can also have pretty (and well fitting) heels and toes if you want them!
Fit
Both heels and toes can both be adjusted to fit your foot. As always, put a big mental asterisk here and pretend it leads you to a footnote saying ‘usually…they can usually be adjusted.’ I can’t ever make promises for anyone else’s pattern, and there are even a few of my own where there’s some sort of constraint that means you need to work them as written. But the vast majority of the time, you can tweak things and get something that works perfectly for you.
Heels
Adjusting the height of your heel flap is key to sock happiness. No really. If your socks don’t fit quite right, there’s a good chance you can fix it by fiddling with the heel flap.
Many patterns have you take the number of stitches in a round, divide it in half, and work that many rows for the heel flap. That probably works for some people, but it gives me a sock that’s too tight right where the top of my foot meets my leg (it pulls across the crease of my ankle, the part that’s bent when you’re standing up, and it’s awful). I need a longer heel flap to have a comfortable sock.
Luckily, you can usually add rows to a heel flap with reckless abandon. Most of my patterns say something like “work the Heel Chart until the heel flap reaches desired length” rather than “work the Heel Chart 16 times.” That’s because I want you to make it fit you, not to work it a specific number of times. If that’s 32 rows, that’s fine. If it’s 40 rows, that’s fine too. The number doesn’t matter, all that matters is that it’s the right length for your foot.
Now, as for how you know what that length is…part of it is trial and error (which I realize is inefficient), but to get started, you can measure. Stand in your bare feet on a hard surface. Have someone measure from the ground to the middle of the knobby bone on the outside of your ankle. Make a note of that number, and try making your heel flaps that long. You may find you need to adjust it a hair one way or the other, but that’s a really good starting place for most people.
Keep in mind that if you’ve changed the length of your heel flap, you will probably also need to change how many stitches you pick up along the side of the heel flap. Again, most of my patterns say something like “pick up and knit stitches along the side of the heel flap” rather than “pick up and knit 18 stitches along the side of the heel flap.” That’s because the number of stitches you pick up will depend on how tall your heel flap is (pick up one stitch in each elongated stitch on the edge of the heel flap, and one at the top if you’d like). Pick up as many as you need to work all the way along the heel flap, however many that may be.
That different number of picked up stitches might also mean you’ll need to do a different number of gusset decreases. This is also not a big deal. My patterns generally say something like “alternate decrease and non decrease round until 56 [64, 72, 80] stitches remain” rather than “work the decrease row ten times.” And again, that works no matter how many stitches you picked up on the side of the heel flap. You just keep going till you hit that target number.
Seriously…fiddle with your heel flaps (even if the pattern you’re following doesn’t seem to encourage it). This is totally a spot where you can fine tune things. It’s a tiny tweak, but it will make your socks fit so much better!
Toes
Toes are just as adjustable as heels, and you should feel free to modify them too.
Most of my toes have you work decreases every other row for the first half of the decreases, then every row for the second half of the decreases. That works well for most people, but it’s not the only way to do it.
If you have particularly pointy toes, you can work decreases every other row until you’ve worked about three quarters of your decreases (and just do a handful of rows with decreases on every row). Or, if your toes are a bit flatter, you can work decreases every other row until you’ve worked about one quarter of your decreases (and do most of the rows with decreases on every row). If your big toe is especially prominent, you can even do shaped left and right socks where you work decreases only on the outside of your foot for a while to make the fabric taper over your smaller toes.
And, just like finding the perfect heel flap height takes a bit of trial and error, finding the perfect toe length can too. I know on me, if I start my toe decreases right when the sock hits the start of my pinky toe toenail, it will fit perfectly. Some people like to work the sock to the base of their big toe or to the tip of their pinky toe, and that’s all fine. As always, the pattern is just a suggestion…it gives you a formula that works pretty well for most people. Feel free to experiment and find a version that works perfectly for you!
Looks
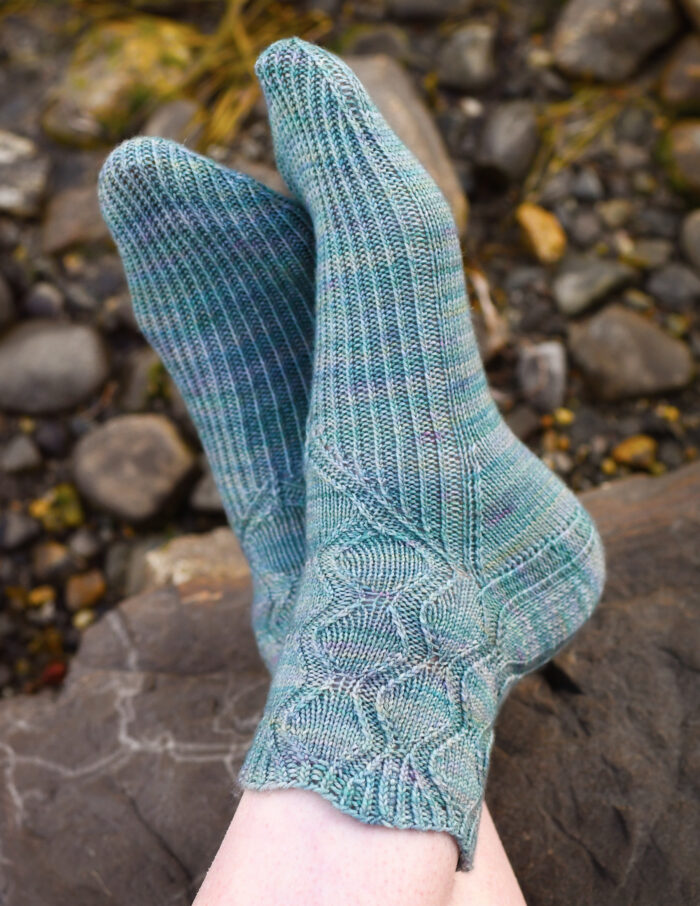
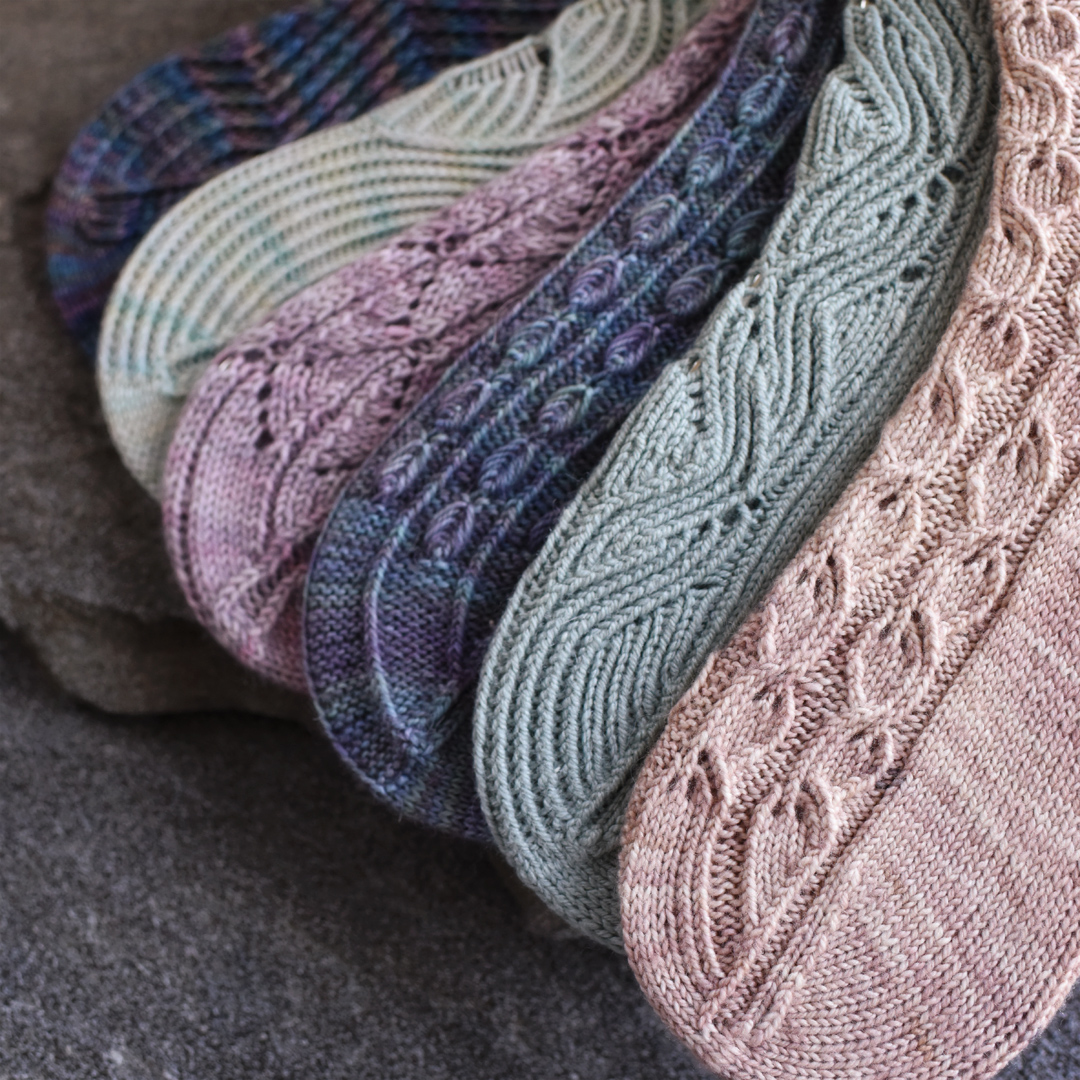
Folks often tell me they can tell one of my socks before they see my name because they just have a certain look to them. And while this is tremendously flattering (hopefully?), and perhaps I should pretend it’s just some mystical sock essence, I think I know what the real reason is. I am generally not inclined to leave my heels or toes plain. I like to continue the pattern, or at least aspects of it, onto both the heels and the toes. And I think that helps them look distinctive.
Now, there are a few practical considerations. You don’t generally want to have holes (like in lace) on the heels or toes (they’d make the heels a bit weak, and they’d catch on your toenails on your toes). You probably also don’t want to have big cables on your heels or toes because they’d feel lumpy in your shoes (little cables are fine, I just try to avoid ones where you’re using more than four stitches at a time in sensitive spots). But you absolutely can continue ribbing or other knit purl patterns right down the heel and toe.
You can often look to the cuff for a ribbing that flows nicely from the pattern, or you can look at what’s happening on the plainer rows of the main stitch pattern (so in a cable pattern, look at the rows without cable crosses, or in a lace pattern, look at the rows without increases and decreases).
Heels
Someone out there is about to say ‘ack, don’t you need to do some sort of slipped stitch thing to reinforce the heel?!?’ To which I say you certainly can, but you don’t have to. If you find that the back of your heel is a heavy wear spot for you, you may want to. But I’ve never ever had my socks (or any of the knit socks in my care) wear out there.
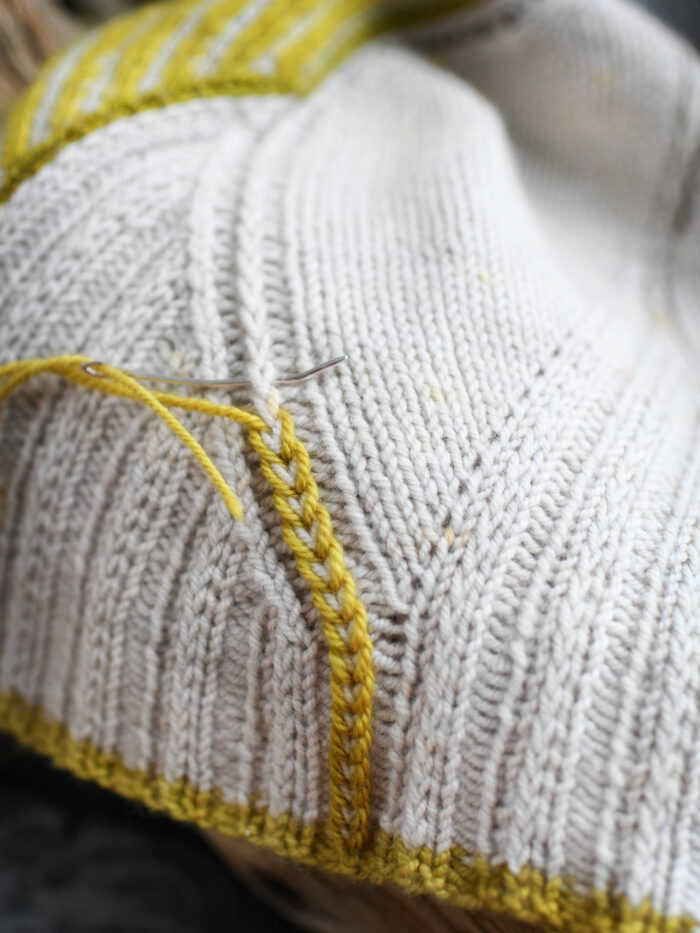
And even if you do want to incorporate some slipped stitches, you can often do that while continuing the lines from the leg of the sock. Grab a piece of graph paper and try charting out a few options. Look for anywhere you’ve got a couple of knit stitches next to each other, and you can work in a few slip stitches if you want (but it totally doesn’t have to be every other stitch on every other row, there are lots of options).
Toes
The same holds true for the toes. There’s no reason at all they have to be plain stockinette. You can almost always continue some of the lines from the pattern onto the toes, and sneak in decreases as needed.
The way I usually do that is to find a line of knit stitches near each side of the toe and do my decreases along that line. Again, graphing it out can help if you’re feeling nervous (or you can just throw in a life and experiment for a row or two, toes are fast)!
Again, the theme for all of this is that you’re in charge. You can totally modify things to suit you. That can mean adjusting the length of the heel flap or the rate of the toe decreases. Or it can mean extending the pretty bits onto heels and toes (even if the pattern you’re working from has you working plain bits there). If you’re going to take all the time to knit socks, you might as well knit ones you’ll really love!
Mailing List
Want to hear when a new pattern comes out or something fun is going on? Sign up below!
Patreon
Want to support the content I create, get nifty bonus material for some of my favorite patterns, or get every new release delivered right to your inbox? Head over to patreon and sign up!
