Holey, part 2
So the first step in mending is always assessing the situation and making a plan.
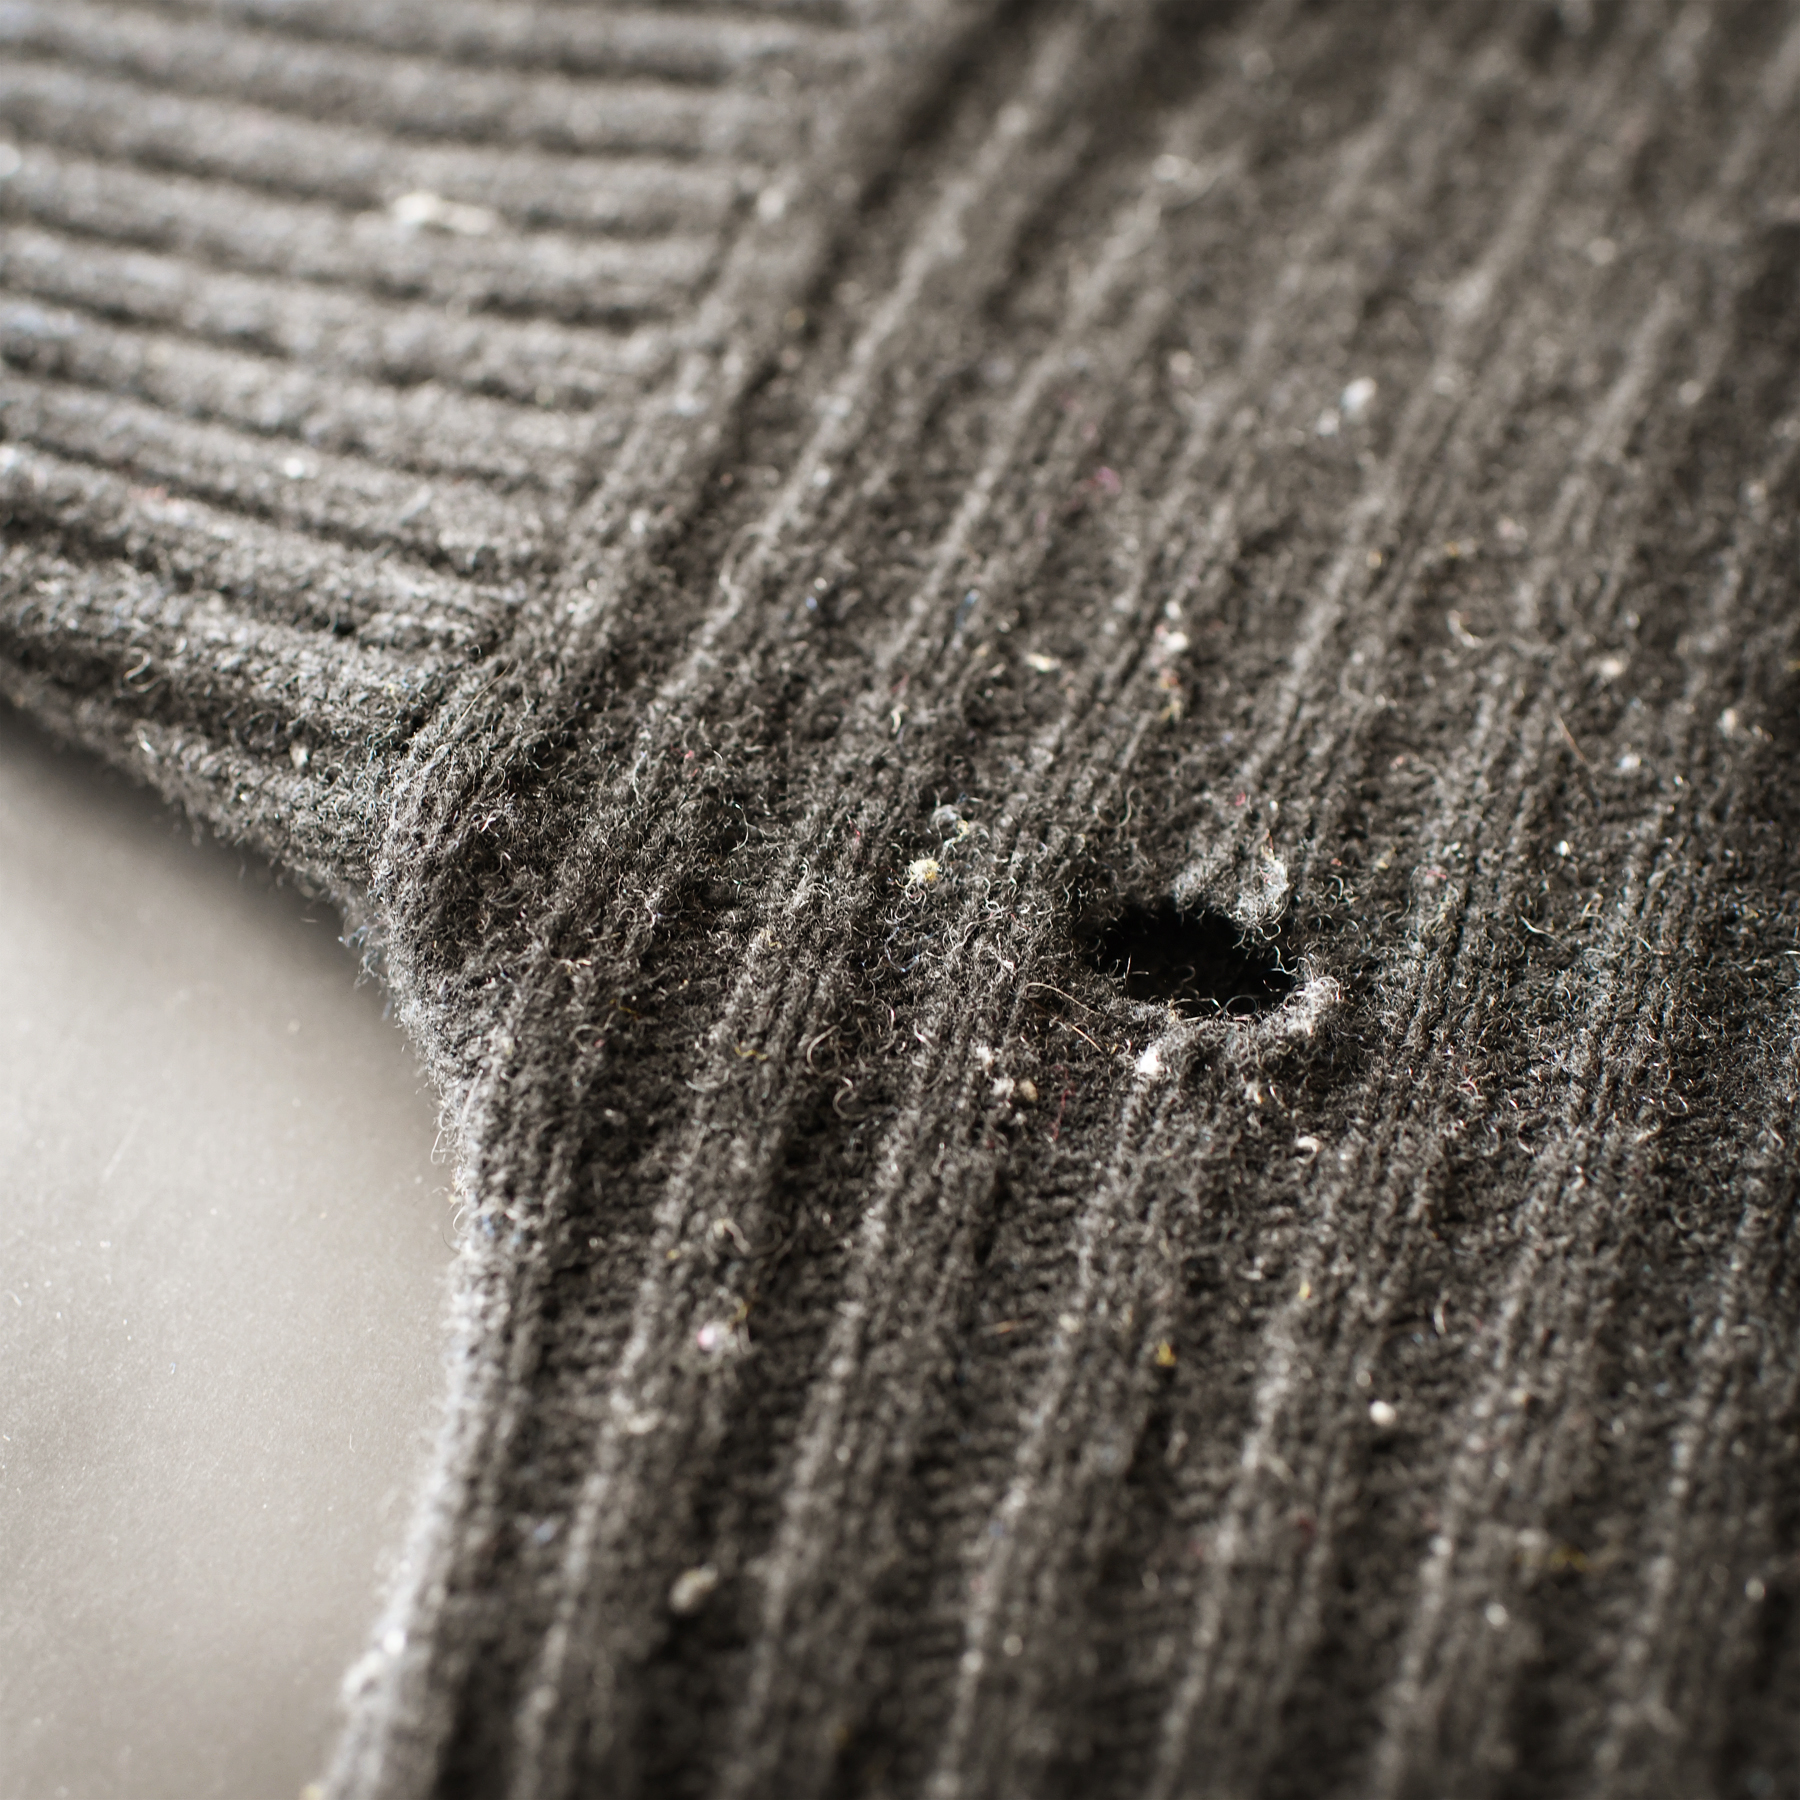
In this case, the situation is a couple of midsized (about the size of my thumbnail) holes in a dark pajama sweater (meaning a sweater I only really wear around the house). And the plan is ‘take to it with highlighter colored stitches in an attempt to stave off January despair with absurdity and eye-searing neon.’ So that should be fun.

I figured I’d give it a quick swipe to get off any fuzzy bits before I started, just to make it more fun to stitch on later. I wouldn’t have done this if the fabric was super fragile, because it could make the hole bigger if I wasn’t careful. But it’s a pretty sturdy fabric and a pretty grippy yarn, so I went ahead and did it and it was fine.
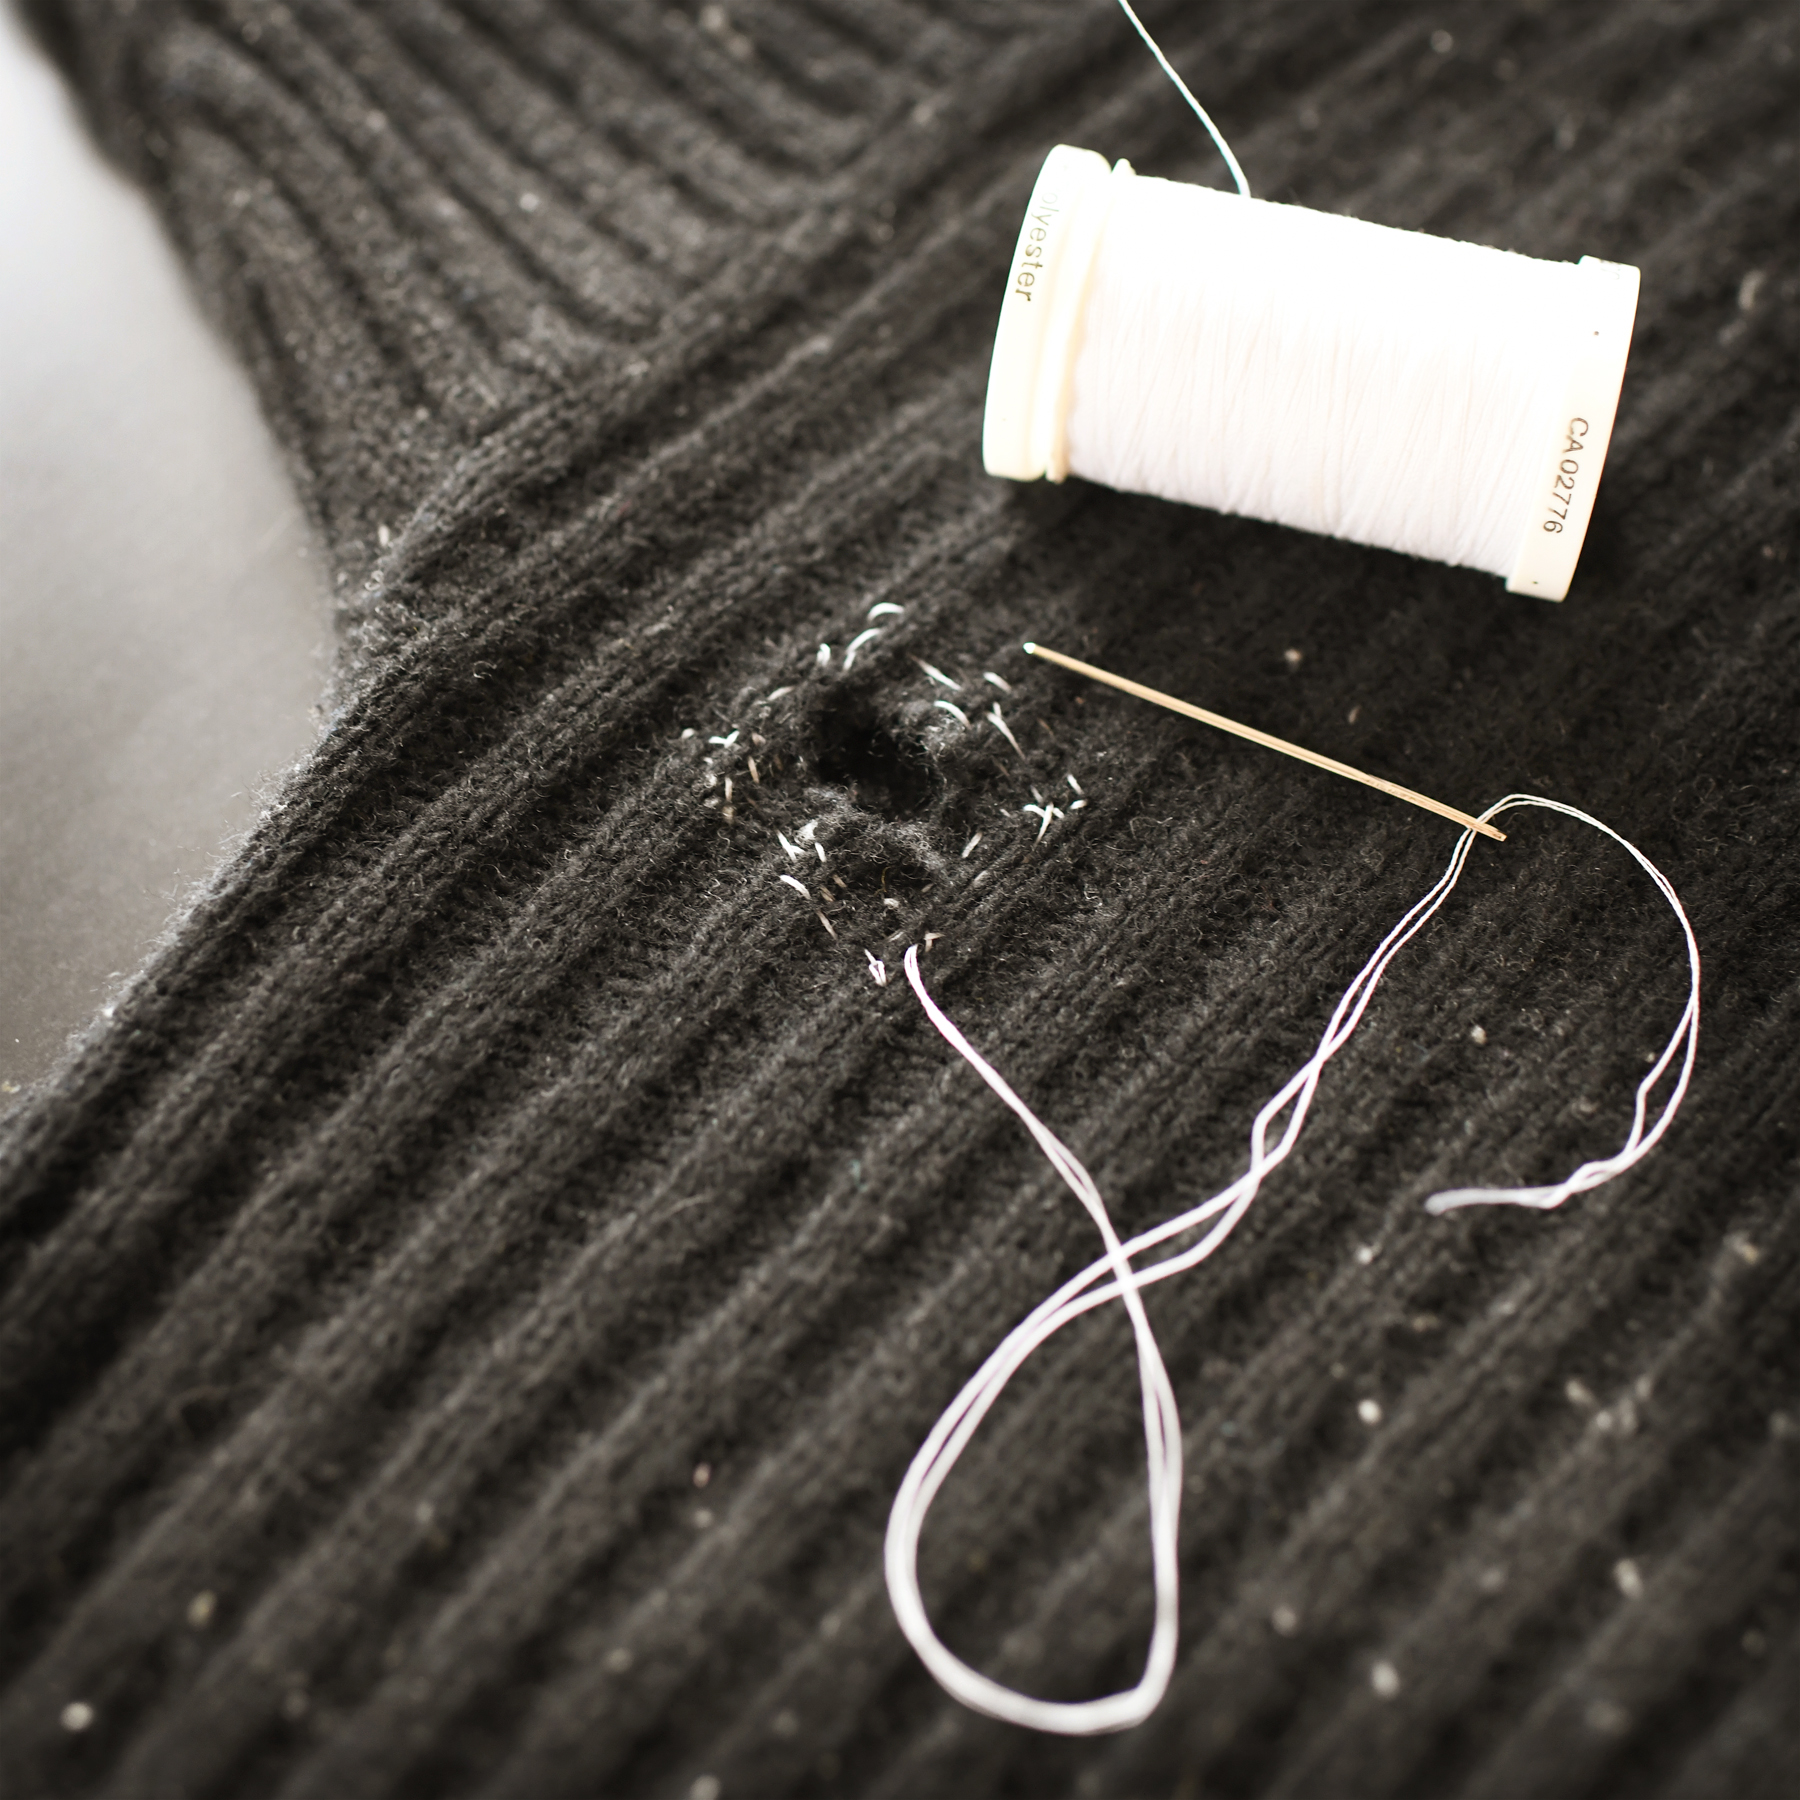
The next step, at least in this case, is to stabilize the hole so it doesn’t get any bigger while I work. That’s not always necessary, but this hole was big enough (and I was going to be stitching directly over and around and into the hole) that it felt like a good idea.
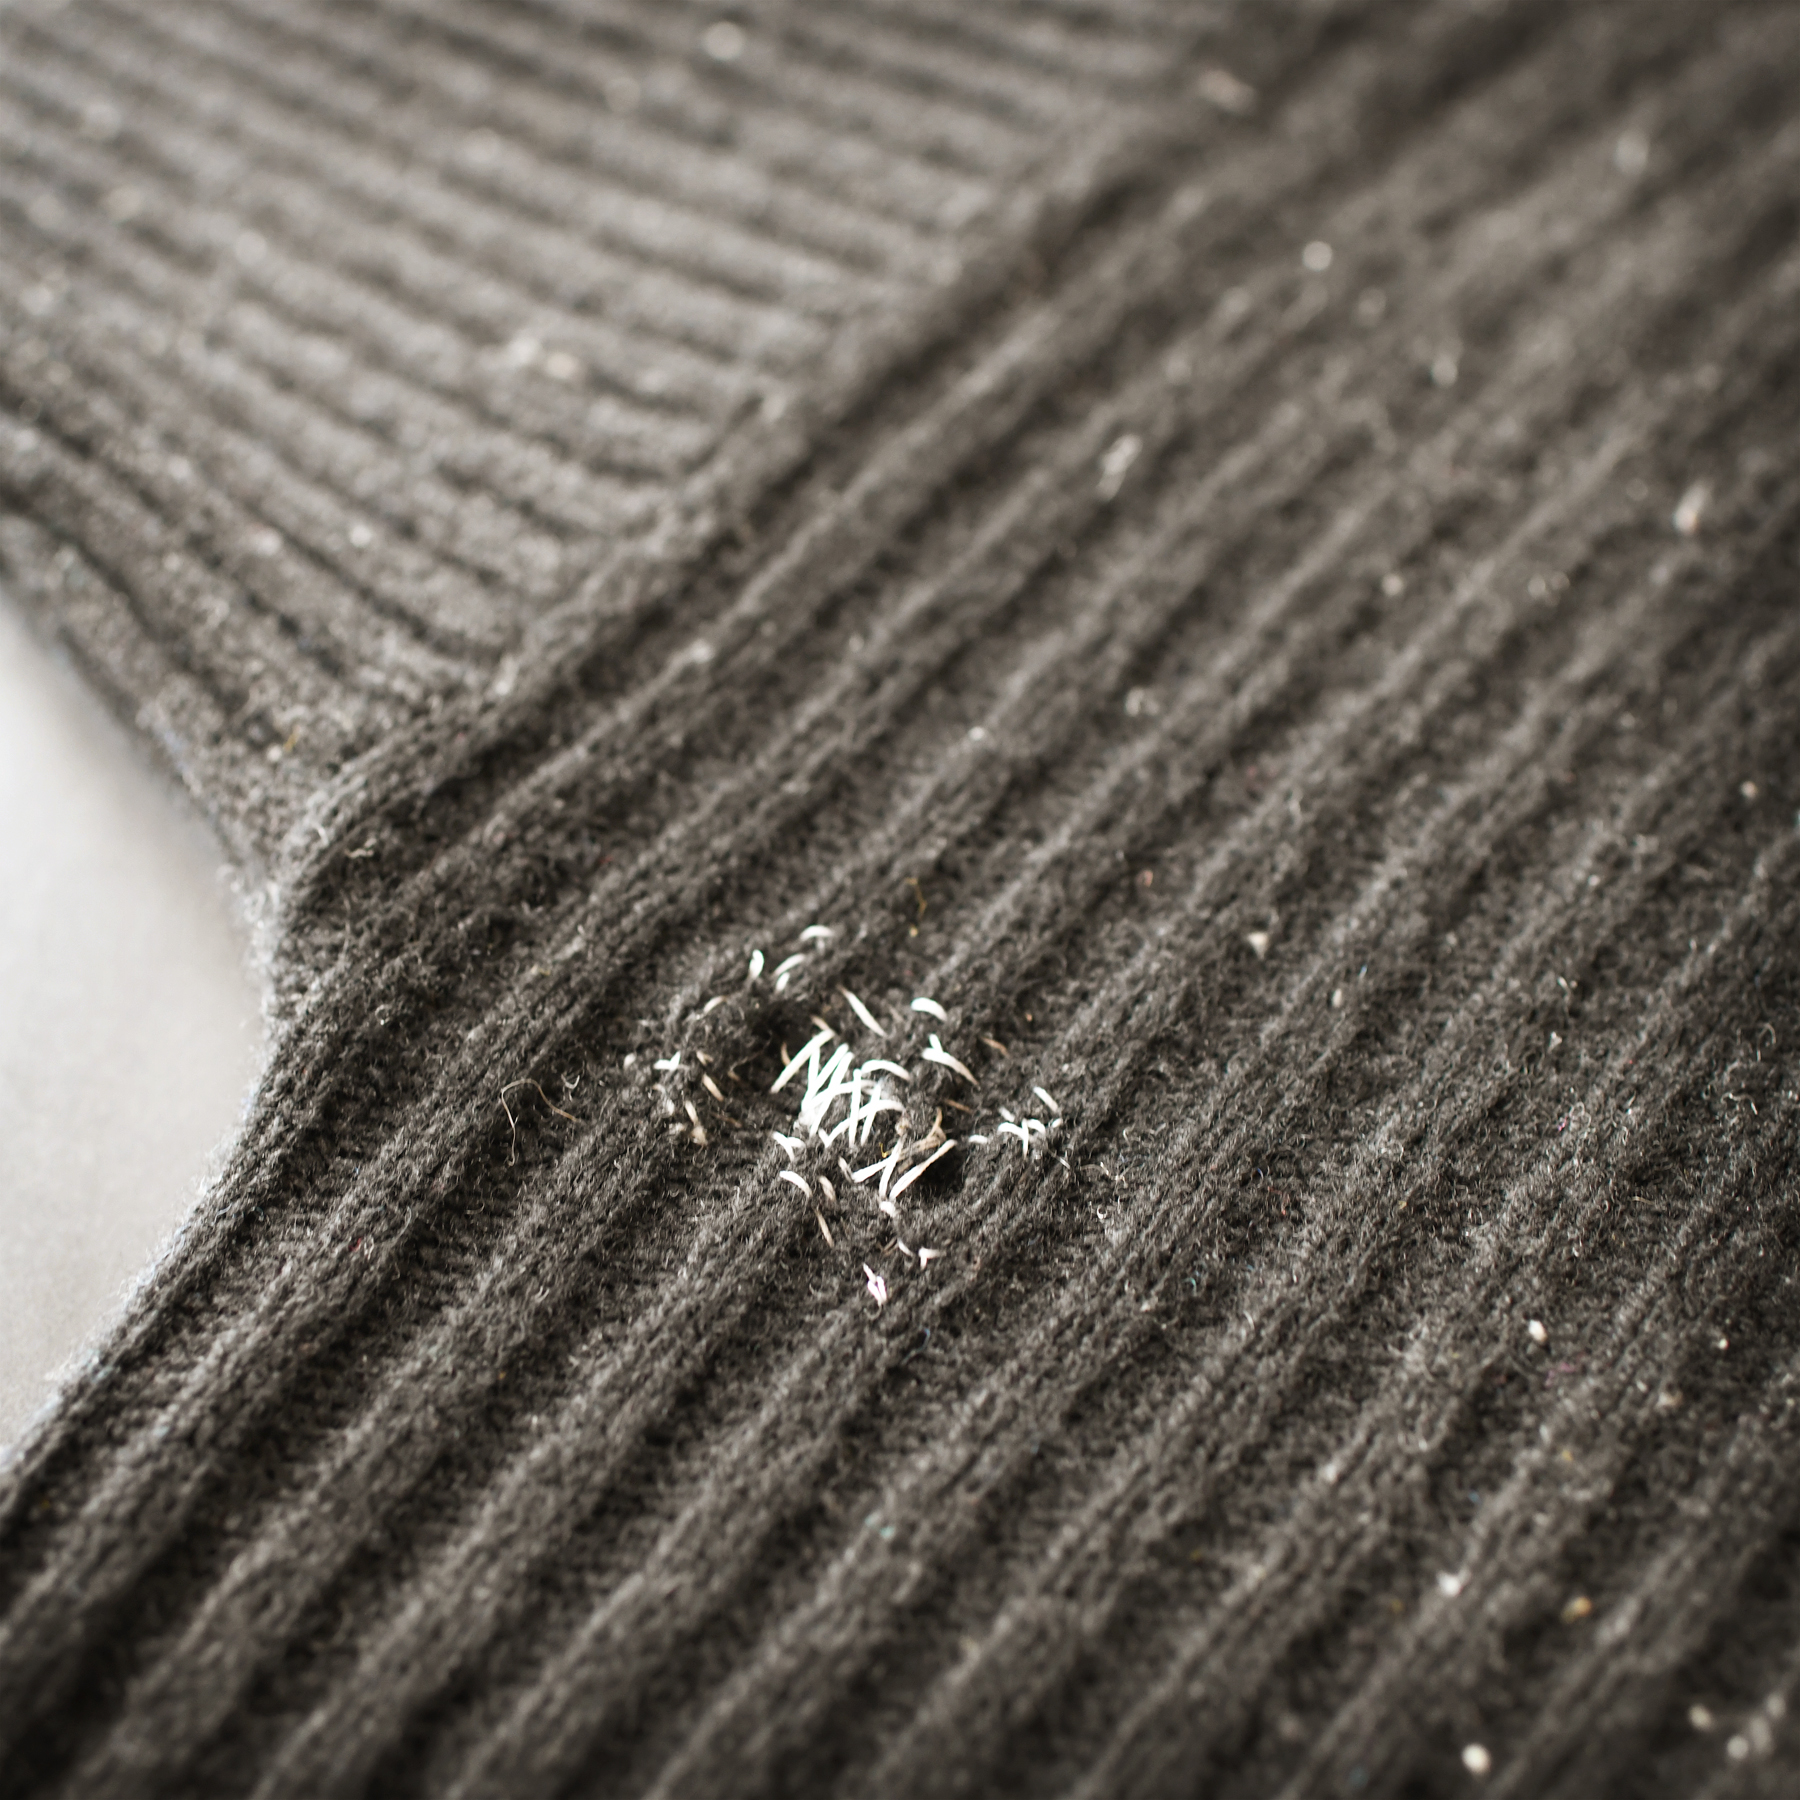
And, as I’m going to absolutely plaster this thing with stitches before it’s done, I figured I’d do the stabilization with white thread so you could see it (and I’d make it super sloppy so no one would feel like they had to do anything fancy). If I were going for something more subtle, I’d use thread that matched the sweater. And if I wanted to be impressive, I’d keep it all neat and tidy.
But you won’t see those white stitches when I’m done, so I was neither neat nor subtle.
Next up, we bring in the color…
Mailing List
Want to hear when a new pattern comes out or something fun is going on? Sign up below!
Patreon
Want to support the content I create, get nifty bonus material for some of my favorite patterns, or get every new release delivered right to your inbox? Head over to patreon and sign up!